Chain Whip

Not put anything here for a bit so I thought I would just show what I was doing this morning. Apart from the workshop hobbies I also cycle a bit, nothing too strenuous you understand but I try to get in 20 or 30 miles a week. This is mainly in an effort to keep the weight down and keep semi-fit. A bit of a losing battle to be honest.

However the last few rides the chain was jumping occasionally. Checking the chain is easy just measure from one pin against a rule and the pin at the 12″ mark should line up. If the pin is more than 1/16″ away the chain needs replacing soon. Mine was a good 1/8″ longer so should have been replaced some time ago. (Although most fixings on modern bikes are metric a good few parts still use imperial measurements chains being and example with ½″ links.) Chains don′t really stretch but the rollers and pins wear and introduce slack. I should have checked more often as I ride mainly off-road and the chain is always covered in dust and grit which with water and oil make a nice grinding paste.
cassette
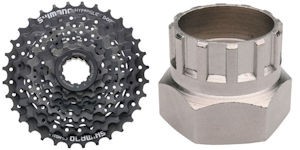
Cassette & removal tool

I fitted a new chain and found that the chain was jumping and skipping all the time, further checking revealed that the rear cassette appeared to be worn, at least that′s what it looks like to me. The teeth on the gears looked to have worn on one side. So I ordered a replacement Shimano 8-speed cassette. Bike repairs are quite easy but you need a few specialist tools, I bought a splined cassette lockring removal tool with the cassette for £4.99 but I forgot to get a chain whip (that′s what the cycling fraternity call them I would probably call it a chain wrench!). You can buy them from about £5 upto a ridiculous £40 if you want the real Shimano one! The tool stops the cassette turning while you undo the lockring. I could probably come up with an alternative but the right tool makes the job a little easier.
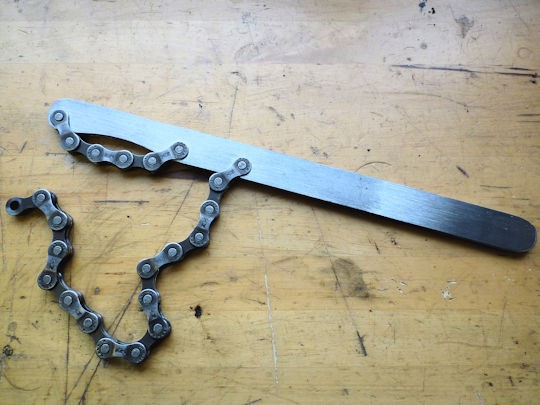
chain whip
My Version of a Chain Whip

I looked at the picture in my favoured on-line bike store and thought it would be an easy thing to make. So I found a suitable bit of flat bar and set to. I used the old chain and simply drilled holes just big enough to take the chain rivets, these are a press fit in the chain plates so once pressed back in hold the chain in place. All the shaping I did on the new belt sander, only took a few minutes. Now waiting for the new cassette to arrive in the post to see whether the tool works.

I must remember to keep a closer watch on the chain and make sure that it is clean. I have one of those on-bike chain cleaners, rotating brushes in a plastic tank, that works quite well but the new chain has a removable link so I could take it off and dunk it in the ultrasonic cleaner. I am hoping that the other end of the drive, the chainring, is OK. It looks alright to me and I hope it is because that is a bit pricey to replace as it comes with the pedal cranks as far as I can make out. The joys of cycling!!

Update: the parts turned up the day after I posted. Nice smooth job replacing the cassette, took about 10 minutes, so much easier when you have the right tools! Pleased to report that everything works smoothly, no skipping or jumping, just need to fine tune the gear changes.
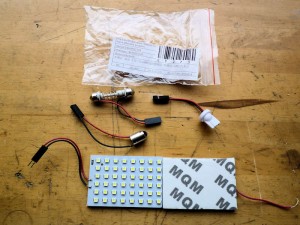
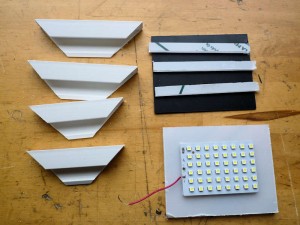
LED Mill Light

I have seen a number of articles where enterprising mill owners have fitted LED lighting to improve workspace visibility. Often these utilise LED ring lights that are intended for automotive use and a smaller number using flat panels also used as replacements inside vehicles. I couldn′t find a suitable ring light but came across some very cheap LED flat panel lights on Amazon. I ordered a few to play with and at £1.25 each including postage from Hong Kong it wouldn′t be much of a loss even if I couldn′t make something useful.

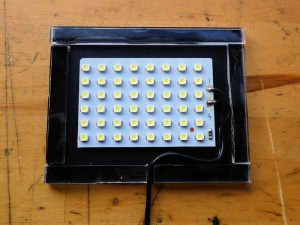
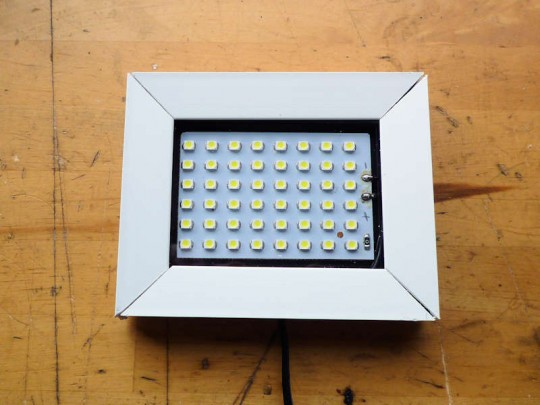
I used bits and pieces that I had in the workshop to make a suitable cover and frame to protect the panel but you could probably just cover it in clear tape to provide a bit of protection. The panels come with a foam sticky pad on the back so they can be fixed to any flat surface. Unfortunately there is no such surface on the mill where I wanted to put the light, just a large recess on the underside of the head. I made the panel to be a tight fit into this recess. A small piece of 6mm clear polycarbonate sheet made the front cover with a similarly sized bit of styrene sheet for the back. The frame was from some left over plastic soffit trim but any U shaped plastic moulding would do

The panels come with a selection of “ends” to suit various vehicle lamp styles, these were not needed as I soldered the power lead directly to the board. Just to really confuse me the original red wire was the negative and the black positive, fortunately the boards seem to have a degree of protection built in! The parts are simply the black styrene back the clear polycarbonate front (it still has the protective paper on in the photo) some spacers also from polycarbonate and the frame. I cut the frame just using a tenon saw and a mitre box so they don′t join up too well. Basically just stick the spacers round the edge of the back sheet leaving a gap for the wire, stick the LED panel in the middle. The frame just clips on and holds everything together. Drill a hole in the edge of one of the frame pieces and thread the power lead through it before soldering the supply to the board.

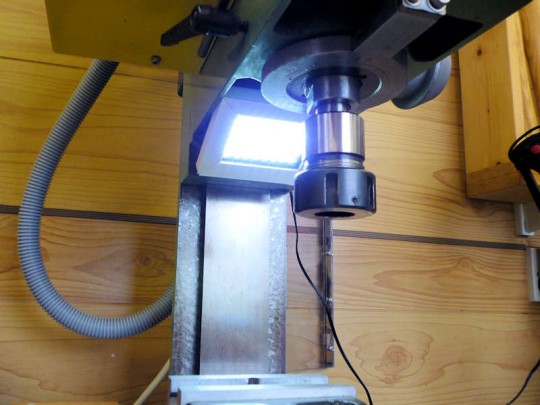
With a bit of adjustment to the width of the light it was a tight fit in the recess under the mill head and at the moment it is just wedged in. It may need some better fixing method if the vibration works it loose. The power is from a 12v plug in supply (Wall Wart) it needs to be DC so I couldn′t use the existing 12v light supply. As can be seen it gives quite a bright light, it is supposed to be warm white but it′s definitely on the blue side.

Surface Plate On A Budget

I was recently marking out a part to be machined using my version of a surface plate namely an old piece of plate glass. I have had this for ages and it normally sits unused in a dusty corner of the workshop (actually all the corners are probably dusty and some with added cobwebs). I was having particular difficulty seeing the the surface due to reflected light and the transparency and once I had finished decided to look at buying a new surface plate. I was surprised to find that small granite surface plates can be obtained at quite reasonable prices. For example Axminster provide a 300mm x 200mm granite plate for about £40.00. If however you want a real precision job a Mitutoyo plate the same size can be had for £234.00.

However as this would probably end up sitting in the same corner of the workshop and only be used on rare occasions I decided to investigate alternatives. I have read in a few places that bits of granite kitchen worktop can be used to good effect and also that Tesco, Argos and the like, sell small granite worktop savers at reasonable prices.

Surface Plate from Argos
Granite Surface Plate

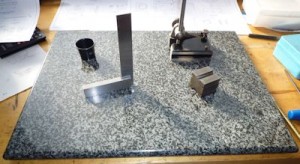
As I happened to be passing Argos I went in and found a 400mm x 300mm granite worktop saver for £8.00. At that price it had to be worth a go and if nothing else would be big enough to tape a sheet of abrasive paper to for flatening plane irons and similar jobs. Once home and unpacked I cleaned it up and checked it with a couple of straight edges. There appear to be no obvious highs or lows and the surface appears evenly ground and polished. I think with my limited ability to test for flatness it will suit my skill level and suffice until I need something more accurate. The only minor downside is that it is very shiny, I think a matt finish is normal on surface plate. I may be able to cut the glare with some abrasive cleaner but that could make it less flat.

WM250 Oil Change

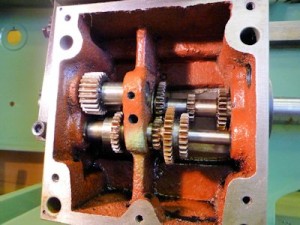
Inside the gearbox
Leadscrew Gearbox

The leadscrew gearbox was getting a bit low on oil and as the oil was still the original I decided an oil change was in order. Nothing too complicated but it led on to another small mod to the lathe which I wrote up for anyone who needs new oil.

WM250 Maintenance

Maurice’s Mods

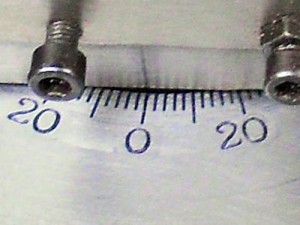
engraved scale
Engraved Topslide Clamp Plate

Maurice Duckworth contacted me from Cumbria with an interesting modification to the four bolt clamp plate for the WM250 lathe. The main benefit of which is an easily readable protractor scale for setting over the topslide. Maurice engraved the scale on the lathe without using a rotary table or dividing plate and his method could readily be used in the production of any type of dial or scale.

Also included in Maurice’s e-mail was an ingenious method to disengage and thereby silence the leadscrew change gear train. Included in this project was a description of how to make professional looking labels.

Without further ado I contacted Maurice and he sent me the necessary photos,  text and permission to publish .

Maurice’s Mods.

Toolmakers Clamps

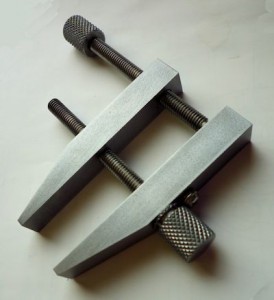
Toolmakers Clamp
75mm Toolmakers Clamp

I wanted a smaller toolmakers clamp so made a couple. Not so much a project more of a “projette”. I thought I would document the making and add it to the site. I think it took longer to write the web page than it did to make the clamps.

Anyway these clamps are always useful and easy to make. I made some at school – about 50 years ago – and they are still going strong.

Toolmakers Clamps