Like many this year I have been “mainly staying at home”. As you can tell from the sparsity of posts I have not been doing very much either, a bit of exercise on the bike a couple of times a week, pottering in the garden and tinkering in the workshop. The workshop tinkering was partly targetted at rejuvenating my old 3D printer which has not seen much use recently partly down to a loose print-head. I resolved to fix this by making a new aluminium backplate to get rid of the plastic frame that held the print-head in place. Whilst the printer was in bits I also decided to fit cable chains and “improve” the wiring to make the hot end easier to maintain. The outcome was only partially successful.

The aluminium backplate worked and held the print-head to the X-carriage securely making use of a ready made steel angle bracket from another make of printer. The wiring mod worked by inserting Molex connectors between the hot-end and the main wiring loom from the print-head assembly. Cable chains were a failure the cables not being heavy enough or flexible enough to make them work as intended.
One of the unforeseen problems was that having removed the build plate fans, printing anything small or with small details wouldn’t work. I was going to print new housings for the fans to screw to the sides of the new backplate this proved to be difficult. I am sure I would have got there eventually but being somewhat impatient I opted for a different solution. Buy a new printer!
A New 3D Printer

I spent some time researching which printer to buy, not an easy choice. You can pretty much pay anywhere between a couple of hundred to a few thousand pounds for a smallish 3D printer but within my price bracket the Prusa i3 Mk3S consistently had good reviews and I opted for this rather than one of the many short lived strangely named Chinese offerings. At first glance the new printer looks very similar to the old but there are many differences and improvements from old to new.
I opted for the kit version of the printer, it is quite a bit cheaper than the fully assembled one and the kit gives you plenty of insight into how the printer works for future maintenance jobs. I was going to do a write up of the build but there are so many versions on-line including some excellent videos that I decided against it. Not only that, the build manual is so good it really doesn’t need any help. Assembly is quite straightforward just read the manual carefully, and eat the Gummy Bears (Gummibär) as directed. The most difficult part is putting the print head assembly together. The printed parts are made in Prusa’s 500+ printer farm, which uses the same model printer, from PETG. The finish and accuracy of these parts is very good and the files to print replacements are all included on the SD card. The supplied hardware is also of good quality including, at least on mine, Misumi linear bearings. Interestingly as I was writing this Prusa announced an upgrade to the printer, the latest version is now the i3 Mk3S+. Also available (January 2021) is an upgrade to v2.3 of the PrusaSlicer software which makes a few useful changes
Some of the more important upgrades from my old printer are:-
- A 24v power supply this makes everything work better than the 12v of the old one.
- Pre-cut aluminium extrusion for the frame makes for easier assembly and stiffer finished construction.
- Larger print area, the build plate goes right to the edge.
- Multi-point auto bed levelling, more correctly auto bed level compensation in software.
- Higher speeds, this from the higher voltage and stiffer frame and improved stepper motor drivers.
- Improved control board, the Einsy Rambo board is still 8-bit but has much improved firmware and motor drivers.
- Removable steel PEI (polyetherimide) coated print bed retained by magnets. The textured PEI sheet provides an excellent surface finish.
- Auto filament load and unload. Changing filament mid-print very easy for two (or more) colour printing.
- Printer is quiet and if you need quieter it has a stealth mode.
- Initial setup built into firmware and checks axis lengths and squareness. Compensation factors stored if needed.
- Initial Z height setting easy and remembered for future use. No more messing with bits of paper or feeler gauges.
- Improved filament feed and hot end construction using E3D v6 extruder.
- Supplied software (PrusaSlicer) is very good and has many presets for different filaments.
- Excellent website with everything you need to know about the printer. Full build manuals, loads of downloadable things to print, regular software updates and a good user forum Prusa Printers.
Filament Storage
If you take up 3D printing one thing you will probably discover is that filament storage can be a bit of a pain. It needs looking after to keep it dry, clean and untangled. Usually supplied in boxes with a re-sealable bag and a small sachet of silica-gel re-packing after each use is a bit time consuming, especially when you want to go and “play” with your latest print. I decided to make a store and use box for my most commonly used filaments, there are loads of designs on the interweb so I looked at a few and then went my own way.

The primary reason for such a box is to keep the filament dry, nearly all the commonly used filament will absorb moisture from the air with a subsequent degradation in print quality. Apparently nylon is the worst for this but PLA and PETG which I use also suffer but to a lesser extent. Construction is pretty simple and needs only simple hand tools.
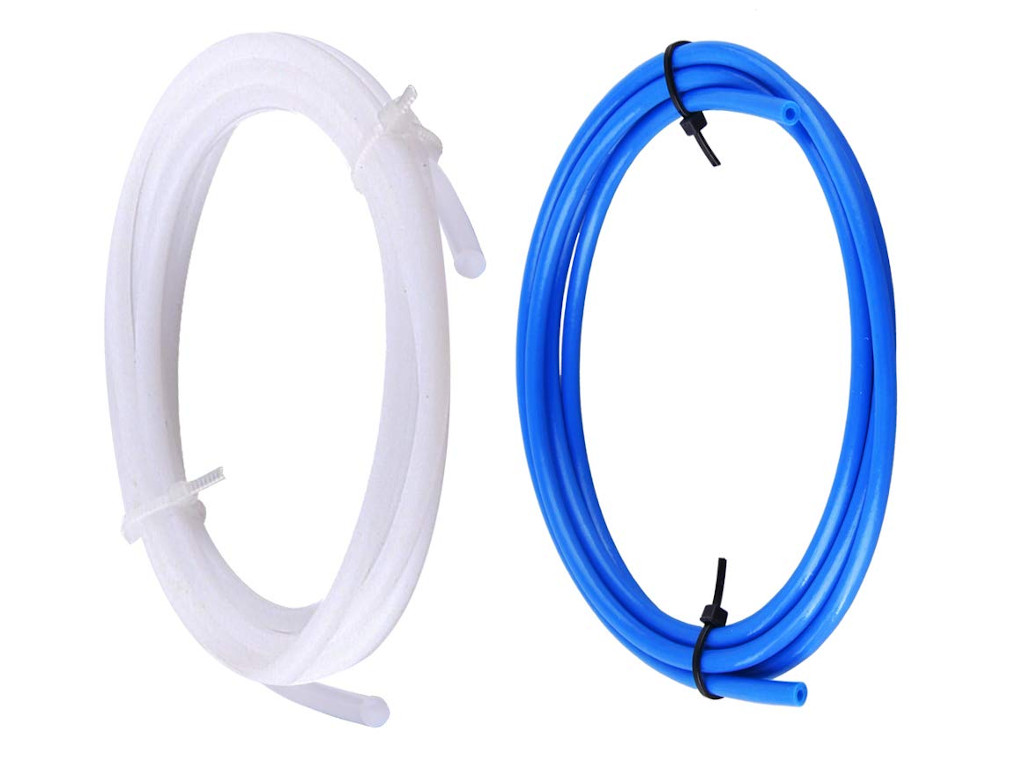
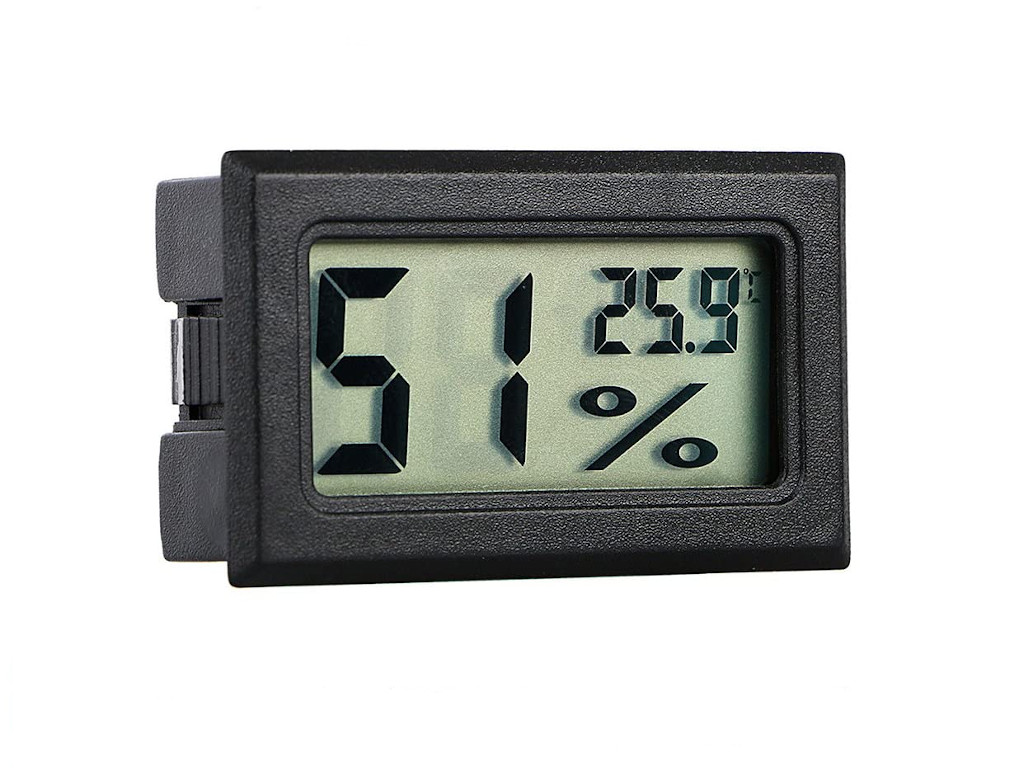
Materials are: a suitable plastic box, P4/6mm airline connectors, 4mm OD x 2mm ID PTFE/Teflon tube, 22mm skate bearings, 3D printed parts for the reel holders and a humidity sensor. The design might vary Depending where the box is to go. Mine was to go on a shelf directly above the printer but could conceivably be to one side, below or at the rear.

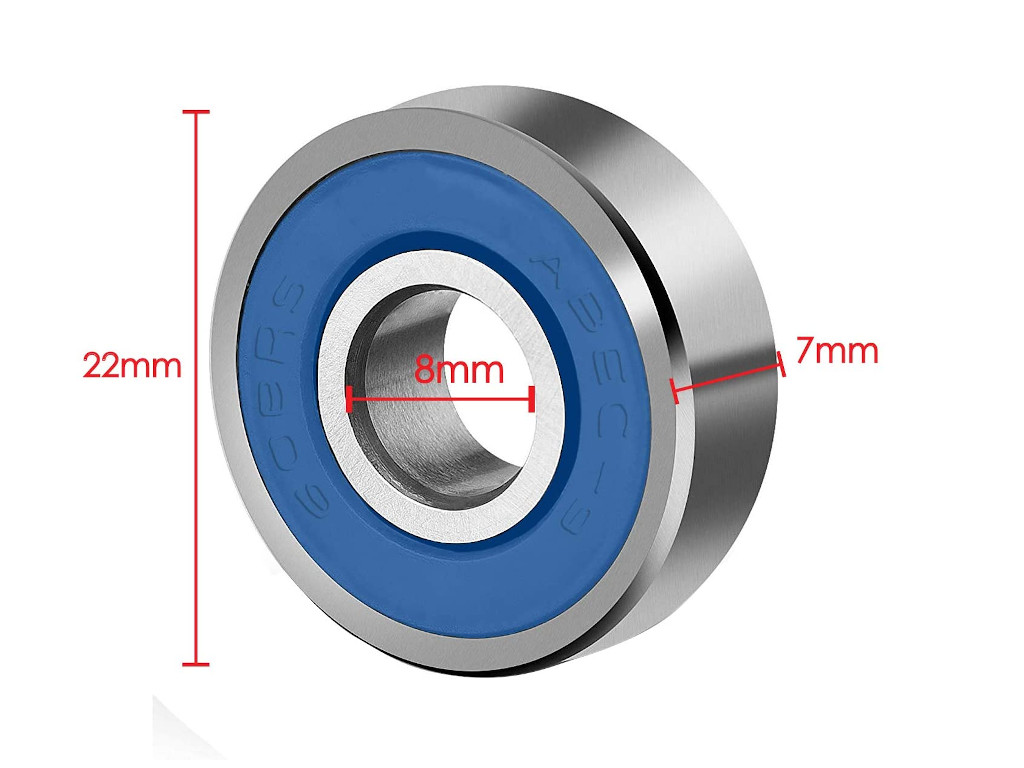
Do a dry run to see if all the parts fit and that the filament path will be as smooth as possible. Once all the positions are worked out drill 6mm holes for the connectors and fix these to the box with 6mm nut and washer. The spool holders will need printing and you need four sides for each reel. The skate bearings are a push fit onto the sides and you will again need four for each reel. The holders are a push-fit assembly, I added a small spot of glue to make sure I also printed small feet to make the holders a bit more stable and also glued these on. The only other work needed on the box is to fit a humidity sensor in a suitable location. Mine was in the lid as in use the box is on it’s side. The sensors are available from Amazon quite cheaply, it needs to be a tight push fit in the box cut-out.
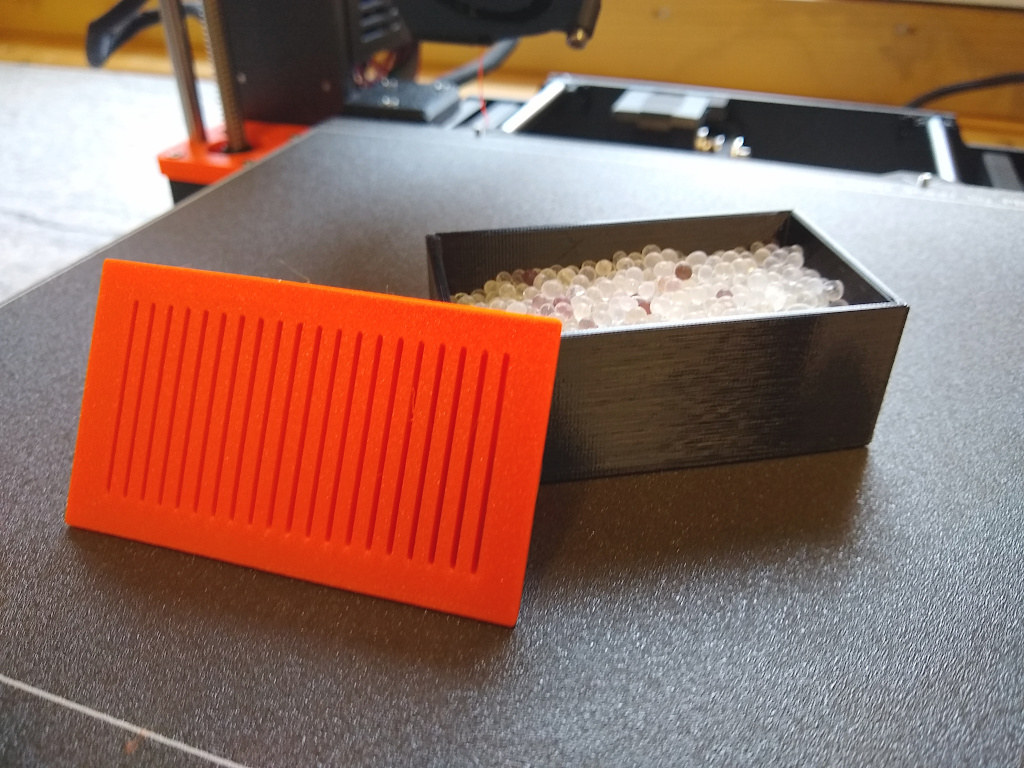
To finish things off and make the box work you need to add Silica-Gel desiccant crystals. You could use the small packets that come with the filament but you would need quite a few. There are larger sachets that are often found in electronic equipment or you can buy loose granules and fill you own container. I printed 3 boxes with perforated lids and fill these with the Silica-Gel. If you buy the crystals with an indicator it is easy to see when it needs re-generating. You can refresh the Silica-Gel by baking in the oven or you can use the microwave. The printed boxes despite being from PETG are NOT, I have discovered, microwave proof. Pour the crystals into a microwaveable dish and “cook” at 50% power for 5 minutes, stir and repeat after the crystals have cooled for a bit. Keep the Silica-Gel crystals in an air tight container.

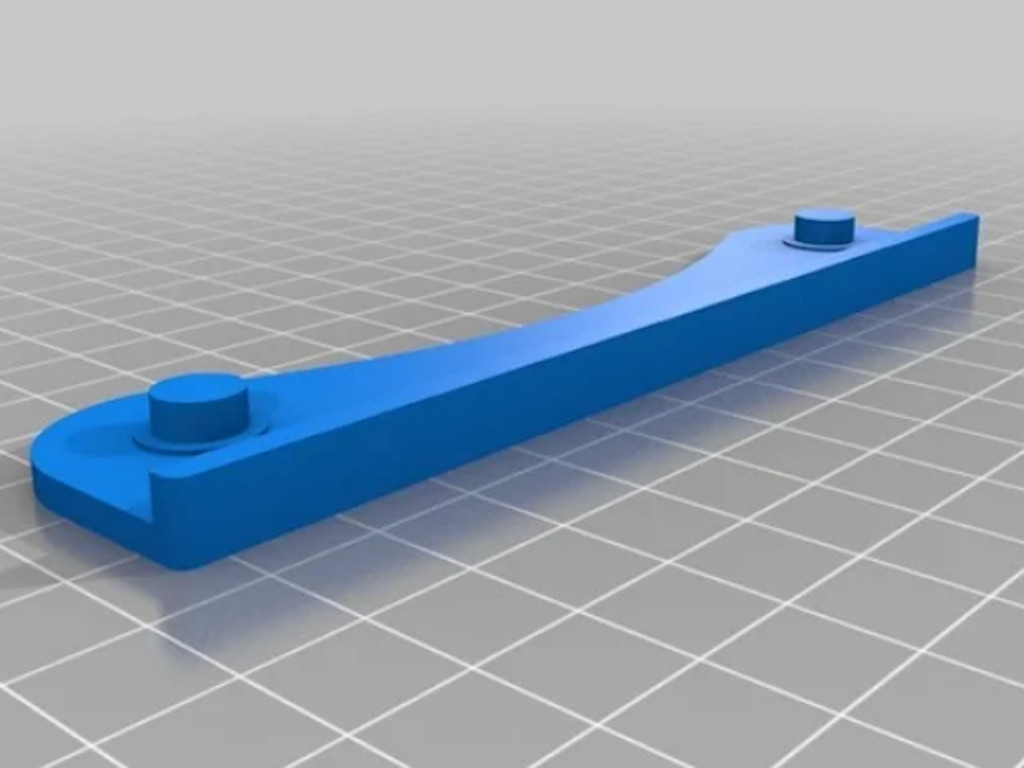
Place the box and printer in position and work out the best path for the PTFE tubes, no tight bends. The image (left) shows the four tubes on mine coming down from the box above. You could just leave the ends of the tubes loose but I think they really need fixing at the printer end. I tried a couple of methods for this. First up I made a tube clip that attached to the top frame of the printer. This worked but as the print head got higher the angle from the tube to the printhead became very acute and looked to be adding unnecessary strain to the system. I designed another tube holder that clipped to the supplied reel holder and lifts the “bend” point of the filament much higher almost to the level it would be if the original spool holder were in use.

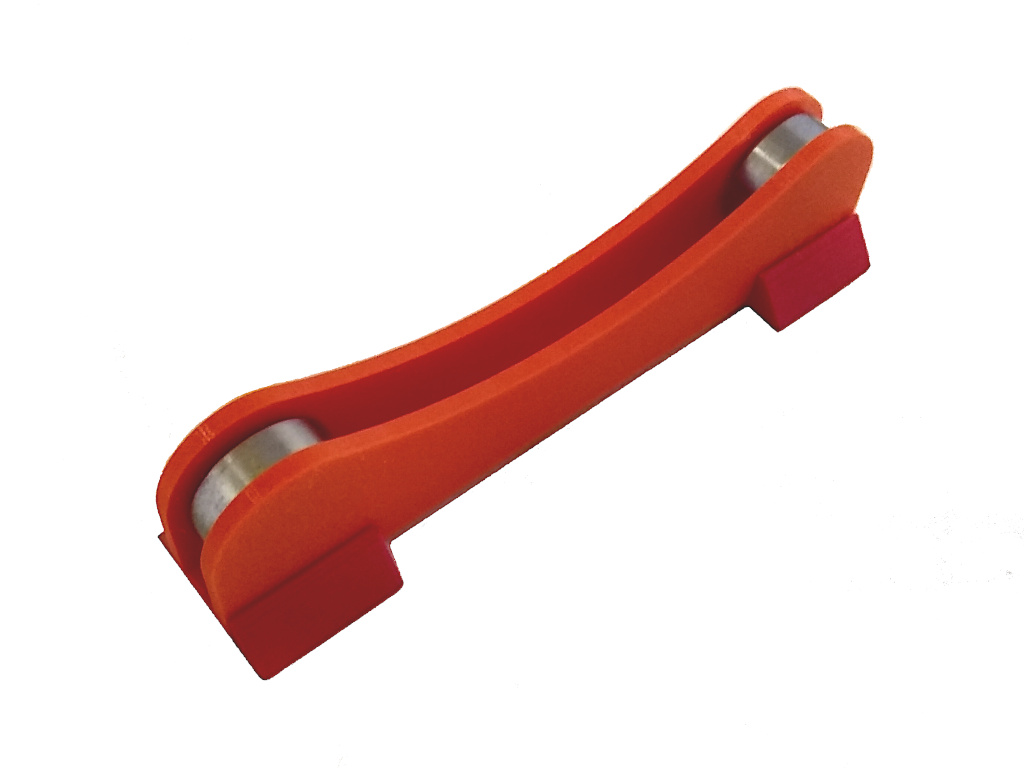
The close-up image (right) shows the second version, printed from PETG. The black section at the rear clips onto the original spool-holder using the ribbed finish for a secure fit (no screws or glue). The orange part at the front has 4 stepped holes for the tubes starting at 4mm and going to 2mm. The printer is surprisingly accurate when creating these small parts. The two sections are hinged together using an M3 nut and bolt suitable recessed into the plastic, this enables the angle of the block to be adjusted optimally. In use I just leave the filament dangling from the tube, it tends to curl back and can be tucked behind the frame. I reason that if the exposed part adsorbs moisture it will be largely used up in the set up routine, priming and skirt. This arrangement also means that other reels can still be used with the original spool holder and the tubes do not get in the way.
The box works quite well, the RH stays around the 35%-45% mark which is well below the norm for the workshop provided that I refresh the silica-gel regularly. If I needed it to be lower I think I would have to add heating which is probably a bit over the top. One draw back I have discovered to having the printer in the workshop is that it gets a bit chilly sometimes and the MIN-TEMP ERROR is triggered. Not insurmountable but a little annoying having to wait for the workshop to warm up. I do have minimum background heating but mainly to stop condensation on the machinery.